Formatting a Raw POS File

Formatting a Raw POS File

How to Format a Raw POS File / Basic Sales File Formatting


Step-by-Step Instructions

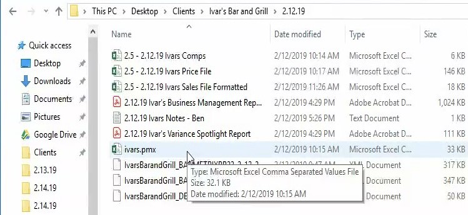
This particular file we are using is a product mix or pmix, as it says in the examples, from Aloha, which is one of the most basic to format.

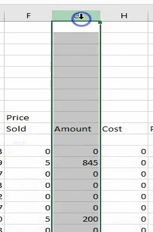
When we format a sales file, we are making it so the file can fit correctly into Pilot. 

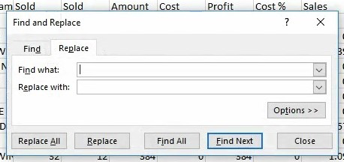
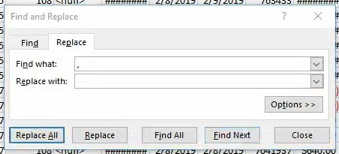
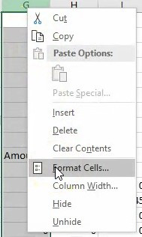
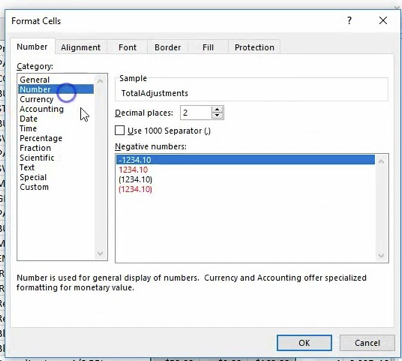
In order to do that, we have to take out all the commas and apostrophes and format some of the columns to the number format.


Open the sales file in Excel.


This is what a raw sales file from Aloha will look like.


First you will need to remove the commas and apostrophes.


The quickest way to do this is by holding ALT and pressing E,E, which will bring up this window.


Step 1: Remove the commas

In the “Find What” box, type a comma.


Then, simultaneously press ALT & A, which are the hotkeys for the “Replace All” button.


Another window will pop up telling you how many, if any, commas were replaced. Click OK.


Next you will hold Shift and hit Tab three times to bring you back to the  “Find What” box. 


Shift +Tab, Tab, Tab


Step 2: Remove apostrophes


Type an apostrophe and then press ALT & A simultaneously.


The same window from before will pop afterwards and you will click OK again.


This particular document didn’t have anything that needed to be replaced

but most of the time something will be replaced. 


Now that you’ve removed all commas and apostrophes, 

you can format the columns.


The column you will need to format with this particular file type is the Amount column. 


This column can be called a number of things like total, net amount or something along those lines.  


It’s what represents the total sales value for that specific PLU that’s imported into Pilot. 


Right click the amount column and select the format option.


Select the Number Format and click OK.  


Now the sales file is formatted, go to the top right corner of the Excel window and click the File button and then click Save As.


Next you will save the file starting with the correct date range, client name, type of file and end with a formatted .csv. 


You will also need to make sure that the dropbox below the file name is selected as CSV. 

Click below to download a printable version of these instructions.


    • Related Articles

    • Sales File Handbook

      Sales File Handbook Quick VIdeo Links Basic Sales File Formatting Sales File with Commas in Text Files Sales Files with No Lines Creating Custom PLU’s Click below to download a printable version.
    • What Files Do You Need From A Client’s Point Of Sale (POS), And Why?

      The Various Files You Might Need From A Client’s Point Of Sale (PoS), And Why They Are Important Common Reports by POS Listed below are several different POS types along with common reports we’ll download for our audits. Aloha Product Mix Sales ...
    • POS - Aloha

      Pulling Sales With Aloha Before you attempt to pull any sales file, make sure your flash drive is formatted and has no files already on it. We don’t want to chance passing around computer viruses to our clients. Step-by-Step to Pulling Sales With ...
    • POS-Clover

      Pulling Sales Files with Clover POS
    • Troubleshooting Sales Issues in Pilot

      Troubleshooting Sales Files in Pilot  ​